For most of its life, WordPress has been built using a simple code-base with a dash of object-oriented PHP being the most abstract system. In the past few years, however, this is changing for the better. From unit testing to CSS preprocessing and command line tools, more and more developer-friendly assets are popping up. In this article, we’ll look at one of my favorites: WP-CLI.
What is WP-CLI?
WP-CLI is a command line tool for developers to manage common tasks (and not so common) of a WordPress installation. It can add/remove users, posts, categories, insert test data, search and replace in the database, help troubleshoot performance issues, and much more!
WP-CLI has been an open source project for over a decade, being maintained primarily by Daniel Bachhuber since 2003. The primary goal of WP-CLI is to help speed up WordPress developer’s workflows.
Over the years the project has emerged into so much more! It’s now even becoming a requirement for other open source projects such as Trellis and Bedrock. As of January 2017, WP-CLI officially moved to WordPress.org and is also now being maintained co-maintained by Alain Schlesser.
WP-CLI v2 was released on August 8th, 2018, so we’ll also explore some of the changes and new features. If you’re a Cloudways client, WP-CLI v2.0.1 is installed by default on all servers, simply SSH into your server to get started. SSH access is included in all of our hosting plans.
- Getting WP-CLI
- The Basics Of WP-CLI
- WP-CLI Commands in General
- Useful Examples
- Using WP-CLI Remotely
- Using Bash Scripts
Getting WP-CLI
The minimum PHP requirement on WP-CLI v2.0.0 has been bumped up to PHP 5.4. While this is a good move ahead, we recommend that you at least run a supported version of PHP, meaning 5.6 or higher. PHP 7.2 is default on all Kinsta installs, both for security and performance reasons.
To get started you’ll need to install WP-CLI – a very simple process. The steps for Linux and OSX are the following, issue these three commands one after the other:
curl -O https://raw.githubusercontent.com/wp-cli/builds/gh-pages/phar/wp-cli.phar
chmod +x wp-cli.phar
sudo mv wp-cli.phar /usr/local/bin/wp
If something goes wrong or you are on Windows refer to the basic instructions or the alternative installation methods.
Once done you should be able to issue the wp –info command and get a meaningful response.
The process is the same if you want to install WP-CLI on your server. Remember, for Kinsta clients WP-CLI is already installed. Not sure which version you’re currently running? You can always issue the wp cli version command to find out.
The Basics Of WP-CLI
Having access to WordPress from the command line is powerful in and of itself but can give you even more control and speed gains when using bash scripts.
Bash scripts allow you to run a sequence of commands with a single command. You could type bash install-and-setup.sh and get the following result:
- Download WordPress
- Create and populate wp-config.php
- Create the database
- Install WordPress
- Install and activate any plugins you need
- Install and activate a theme
- Download and add test content
These would be the steps I would take to create a new test environment for a project. Normally it would take me 5-10 minutes at least, especially if there are a few plugins involved. Issuing a single command is obviously a lot faster.
WP-CLI Commands in General
If you are used to working in the terminal there’s nothing special about WP-CLI for you. Commands always start with wp followed by a command and subcommand, followed by required and optional parameters, something like this:
wp command subcommand requiredparam --optionalparam --optionalparam2=value
Let’s install a theme to see how this works with a real command:
wp theme install twentyseventeen --activate
This will install and activate the Twenty Seventeen theme on your WordPress installation.
Note that WP-CLI will work with the WordPress installation you are currently in the terminal. If you switch directories to go to another WordPress installation, it will work with that one.
Useful Examples
That was WP-CLI in a nutshell! While there are a few advanced things you can do, which we’ll get to in a moment, you already know enough to get started and do whatever you need to. I recommend taking a look at the commands list, try some of them out. We’ll take a look at some useful stuff here, then move on to using WP-CLI over SSH and using bash scripts.
Installing WordPress
I use WP-CLI a lot to set up test environments, the first step of which is a vanilla installation. Here is a list of commands I run:
wp core download wp core config --dbname=mydbname --dbuser=mydbuser --dbpass=mydbpass --dbhost=localhost --dbprefix=whebfubwef_ --extra-php <
Note how cool this is! The most recent version of WordPress is downloaded using the first command. The second command sets up the config file with the database access and some additional PHP at the end. The additional constants make sure we have our debugging options on for testing.
The third command creates the database (WP-CLI uses the database access info from the config file) and finally, we install WordPress using a couple of parameters.
Reinstall WordPress Core
You can also reinstall WordPress core using WP-CLI. The following command would download WordPress core without the default themes and plugins.
wp core download --skip-content --force
Change WordPress URL
There are many reasons why you might need or want to change your WordPress URL. Perhaps you are changing domains, moving to a subdomain, updating from www to non-www, moving files around, or even migrating from HTTP to HTTPS. Whatever the case may be, you can use easily use the wp option update command for this. Here is an example below:
wp option update home 'http://example.com' wp option update siteurl 'http://example.com'
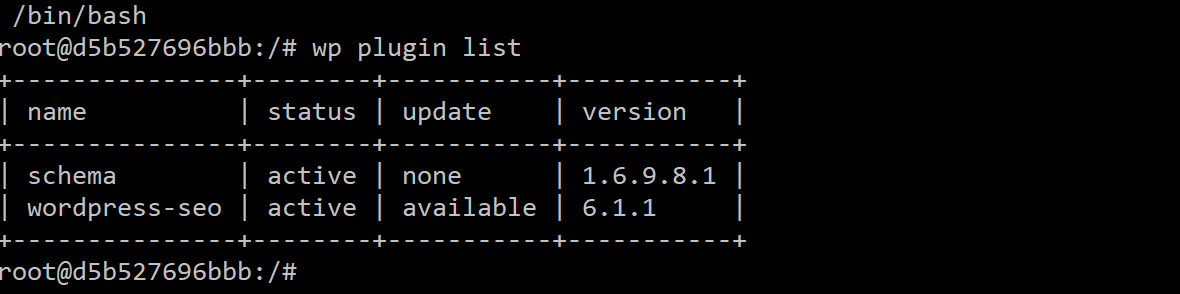
List of Current Plugins with Details
To get a list of current plugins installed on a site simply use the following command. In this example, you can see we have the Schema and Yoast SEO plugin installed. It will also return the status (active/deactivated), if there is an update available, and the current version.
wp plugin list
Installing Multiple Plugins
To install multiple plugins you can simply pile on parameters. Here’s an example that downloads and activates 3 plugins:
wp plugin install advanced-custom-fields jetpack ninja-forms --activate
Note that the plugin names come from their name in the repository. The easiest way to figure this out is to visit their page and look at the URL or to use wp plugin search searchterm which will give you a list in the terminal.
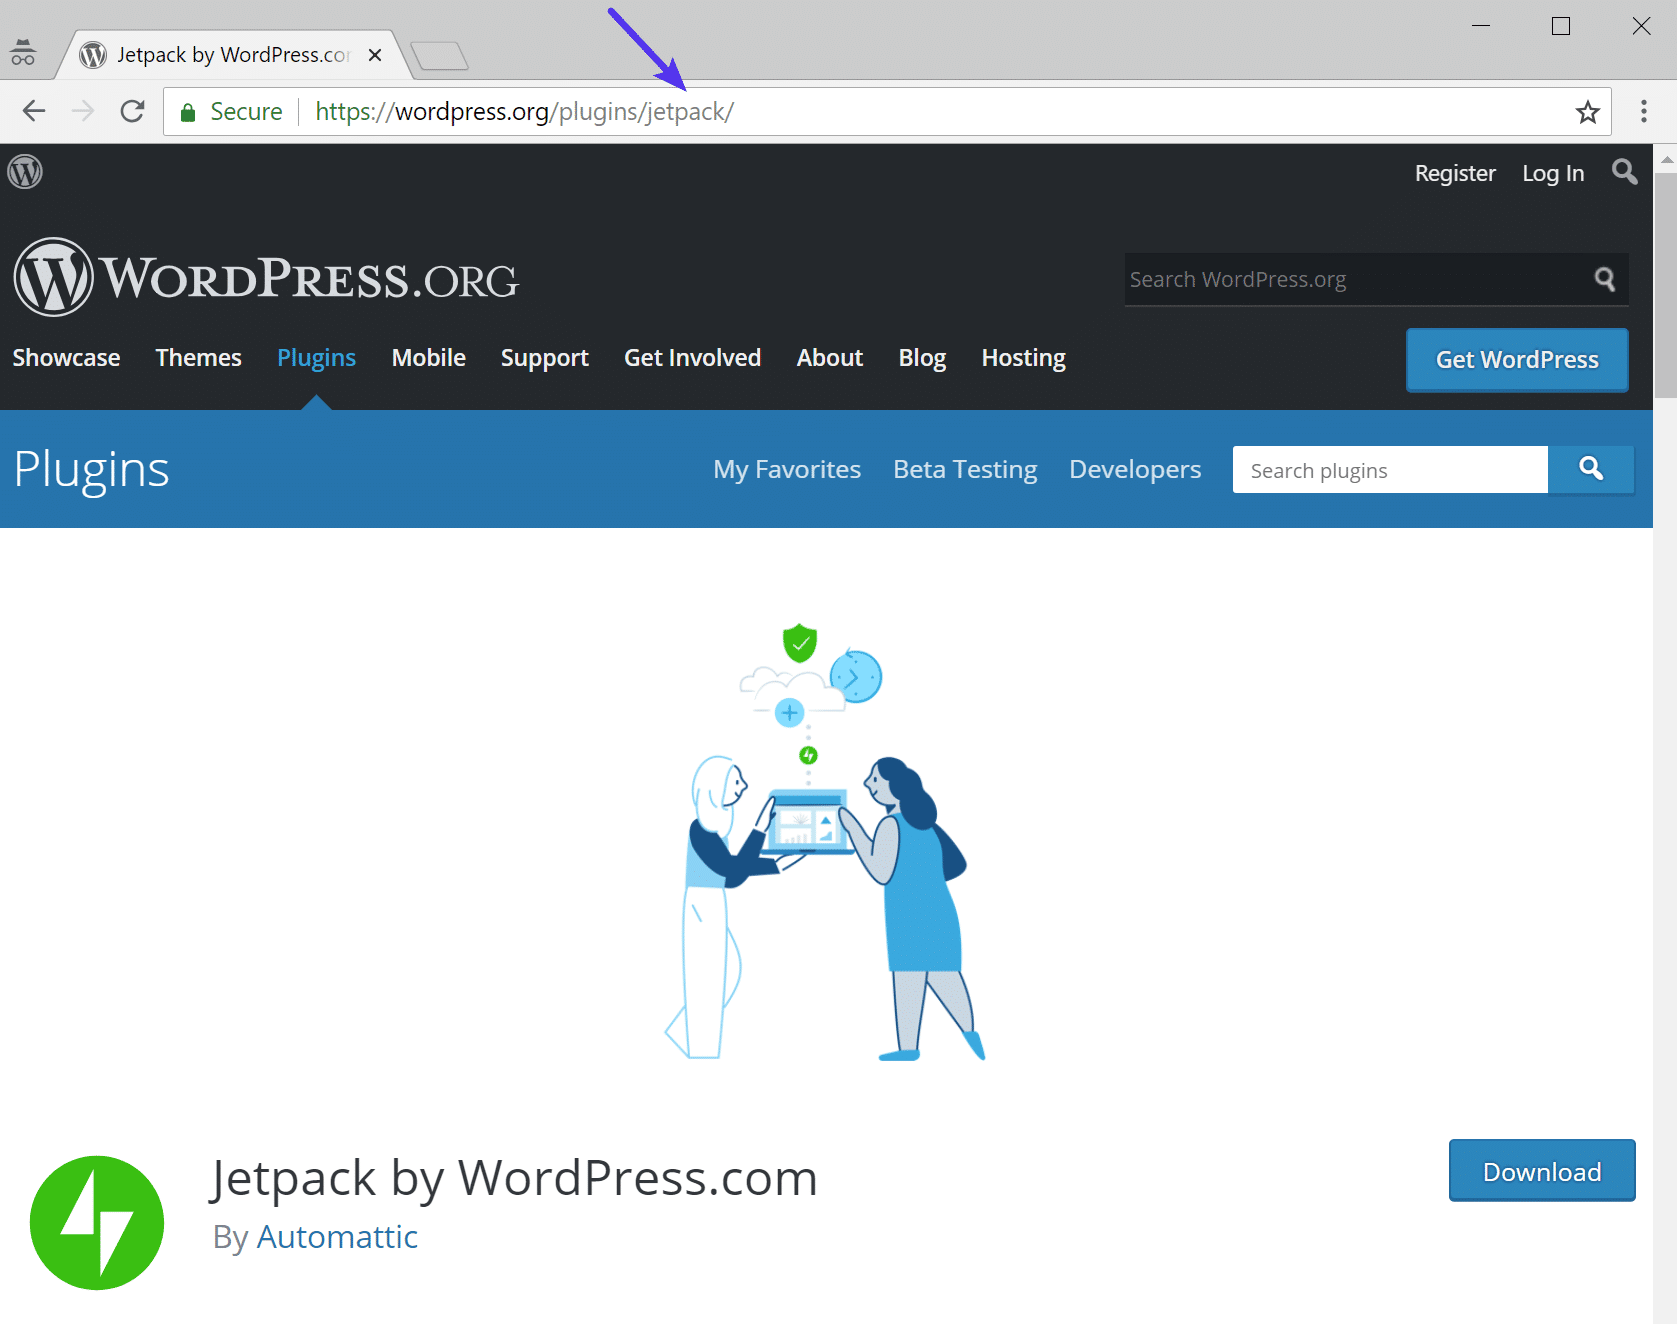
WordPress plugin repository URL
You can also install older versions of WordPress plugins if needed with the –version attribute.
wp plugin install wordpress-seo --version=4.8 --activate
Even cooler, you can install plugins from remote files, not just the repository which is handy if you’re developing a plugin, or using a premium plugin. The following command installs two plugins from the repository and one from an Amazon S3 server.
wp plugin install advanced-custom-fields jetpack https://d1qas1txbec8n.cloudfront.net/wp-content/uploads/2015/06/23073607/myplugin.zip --activate
Deactivate Multiple Plugins
To deactivate a single plugin you can run the following command.
wp plugin deactivate wordpress-seo
To deactivate all your plugins at once run the following command.
wp plugin deactivate --all

WP-CLI deactivate all plugins
This above command can be handy if you’re troubleshooting compatibility issues and simply need to deactivate all the plugins in one fell swoop. You can then go back and enable them one by one, testing as you go.
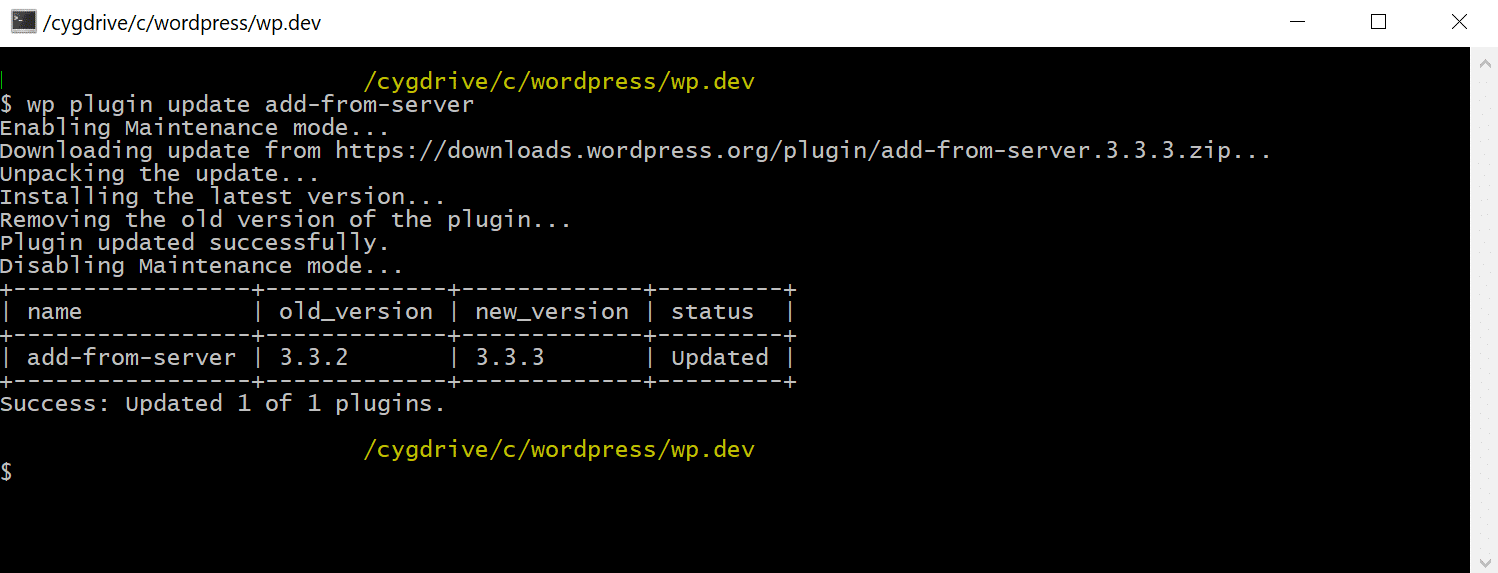
Update Plugins
You can also manually update WordPress plugins. Example below:
wp plugin update wordpress-seo
WP-CLI manually update WordPress plugin
Database Search And Replace
One of the main reasons it is difficult to migrate a site by just copy-pasting a database is that the database contains serialized arrays. If you need to replace all instances of http://testsite.com with http://livewebsite.com your serialized arrays will not make sense because the string count won’t match up.
The search-replace command unserializes arrays first, then performs the search and replace, then re-serializes the arrays. You can get this done with a simple command:
wp search-replace oldstring newstring
Additional parameters allow you to do a lot more, including preview what will be replaced by using --dry-run.
Import And Export
There are two ways to export content with WP-CLI. You can create an XML file, just like the WordPress export tool does, or you can export/import the raw database. I find the later a lot more useful in my daily routine, it comes in handy when syncing sites.
wp db export is all you need to do to create a SQL file and wp db import file.sql is all you need to import it. Works like a charm, just be careful not to overwrite anything you need, importing will basically dump the existing database and use the supplied SQL file instead.
Manage Roles And Capabilities
WP-CLI can manage roles for you pretty easily using the wp role command. This is pretty cool if you want to test how your plugin works with custom roles but you don’t actually create the roles within your plugin.
wp role create organizer Organizer wp cap list 'editor' | xargs wp cap add 'organizer' wp cap add 'organizer' 'manage-events'
The commands above will create a new role (Organizer), add all capabilities from the editor role to it and then add a new capability: manage-events.
Generate Test Data
I love all sort of faker-like functions – ones that add dummy content to your site that you can use for tests. WP-CLI has a couple of these built in, here are a few functions that will generate users, terms and posts.
wp user generate --count=5 --role=editor wp user generate --count=10 --role=author wp term generate --count=12 wp post generate --count=50
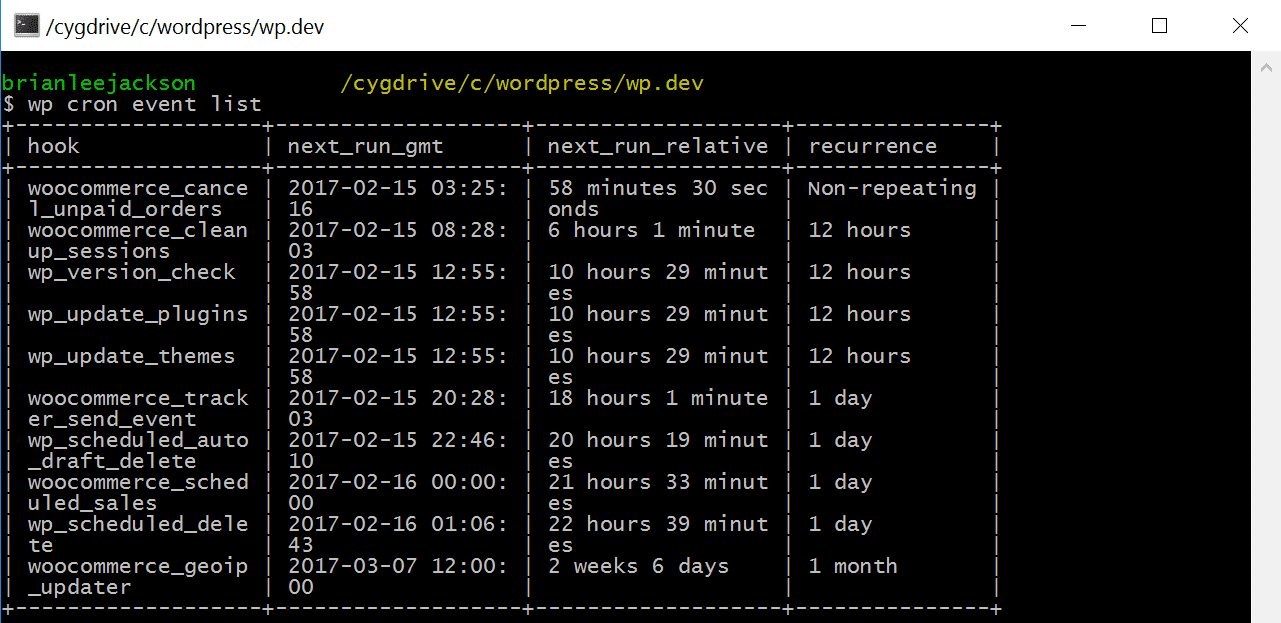
Manage WP-Cron Events
You can manage WP-Cron events and or a WordPress Cron job in WP-CLI. For example, the following command will give you your current cron event list.
wp cron event list
Delete Transients
You can even delete and clear out one or all transients using the following command.
wp transient delete --all
Clean up wp_options Table
The wp_options table can be a common culprit for slow query times on your site due to autoloaded data that is left behind from third-party plugins and themes. Check out this great article from WP Bullet on how to use WP-CLI to clean up your wp_options table.
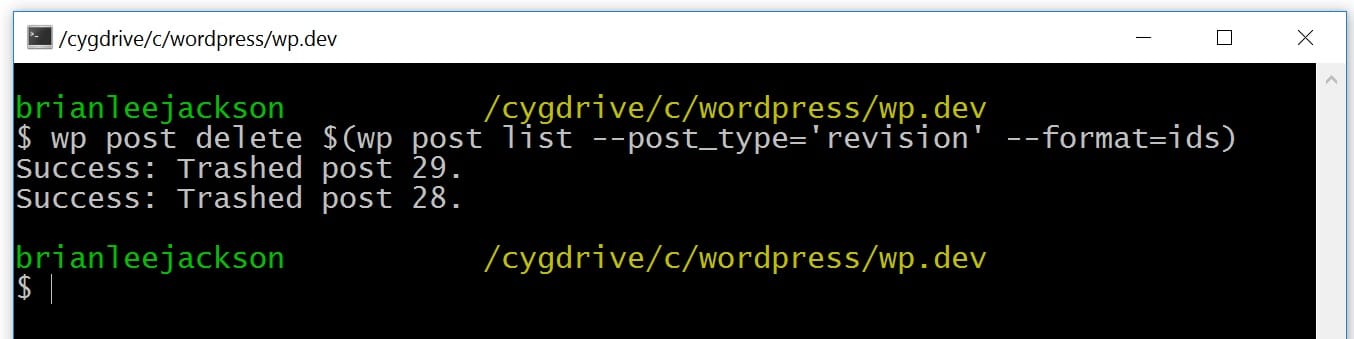
Delete WordPress Revisions
On large sites, WordPress revisions can add up very quickly to thousands of rows in your database which are not needed. You can delete post revisions with WP-CLI. Here is an example of the command:
wp post delete $(wp post list --post_type='revision' --format=ids)
Indexing Data with Elasticsearch
Elasticsearch is an open-source full-text search engine. It is used to index data and search that data incredibly quickly. We offer this as an add-on for Kinsta clients. You can use ElasticPress WP-CLI commands to perform indexing over SSH. Example:
wp elasticpress index [--setup] [--network-wide] [--posts-per-page] [--nobulk] [--offset] [--show-bulk-errors] [--post-type]
Working with Multilingual Sites
WP-CLI v2.0.0 includes a new family of commands wp i18n for those of you working with multilingual sites. For example, you can create a POT file for a WordPress plugin or theme.
wp i18n make-pot [] [--slug=] [--domain=] [--ignore-domain] [--merge[=]] [--exclude=] [--skip-js]
See i18n-command documentation.
Using WP-CLI with WooCommerce

Working with eCommerce sites? We recommend checking Robot Ninja’s amazing WP-CLI WooCommerce development guide for quick and easy commands you can use. Generating a list of customers, orders, and even creating bulk products are all possible with WP-CLI.
Using WP-CLI Remotely
One of the best things that you can do with WP-CLI is manage your remote WordPress installations. This is truly a website manager’s dream come true.

To seamlessly run WP-CLI commands on a remote server via SSH you previously needed the wp-cli-ssh addon command. But as of v0.24.0, this is now part of WP-CLI itself!
Important: You need WP-CLI installed both on the computer you’re running the command from and your server.
Configuring Remote Servers
You can configure your servers globally or locally. To configure them globally use the config.yml file. You can also use the wp-cli.yml or wp-cli.local.yml files in your current working directory.
The configuration of servers works something like this, paste this in one of the mentioned files:
ssh: staging:
      cmd: ssh %pseudotty% [email protected] %cmd%
      url: http://myseite.com
      path: /www/path/to/site/root
Once all this is done you can type the following command to update WordPress on your remote site:
wp ssh core update --host=staging
If you own or manage a lot of sites, I think you can see that this is amazing! The script will ask for a password, but if you use RSA keys to log in you can forgo that as well. Take a look at this article to set that up.
Using Bash Scripts
Bash scripts save you even more time by automating tasks. Remember how we needed to type a lot of commands to install WordPress? You can do that with a single bash script. Inside a directory create an install.sh file. Paste the same code we had before inside and save it.
wp core download
wp core config --dbname=mydbname --dbuser=mydbuser --dbpass=mydbpass --dbhost=localhost --dbprefix=whebfubwef_ --extra-php <<
PHP define( 'WP_DEBUG', true );
define( 'WP_DEBUG_LOG', true );
PHP
wp db create
wp core install --url=http://siteurl.com --title=SiteTitle --admin_user=username --admin_password=mypassword [email protected]
All you need to do now is type bash install.sh and everything will be done for you, without user intervention. If you manage a lot of sites you can set up all your environments and create a bash script like this:
wp ssh core update --host=clientA
wp ssh core update --host=clientB
wp ssh core update --host=clientC
wp ssh core update --host=clientD
When a new WordPress version comes out, this could save you a lot of time! Since you can do anything you like with WP-CLI you can even update themes and plugins regularly on a number of client sites at once.
Summary
WP-CLI really is the developer and website manager’s dream come true. As developers we can create test sites in a jiffy, add test content and do all sorts of import/export magic. Site managers can handle site updates and other tasks for multiple sites with single commands. Make sure to check out the WP-CLI v2 release notes!
If you haven’t already tried WP-CLI I urge you to give it a go. There are also a bunch of community commands like WP-CLI-SSH which add even more great features! If you’re running into problems, make sure to check out the WP-CLI common issues documentation.