
Having the proper caching mechanisms in place is one of the most important things you can do to speed up the delivery of your website.
Besides Page Cache from plugins like Breeze, Nitropack & WP-Rocket. The object cache is used to make your database queries run faster and improve your website speed. it’s also a way to cache transients set by plugins and themes. Default WordPress object cache uses the MySQL database which we all know can get slow down your site.
In this post, we’re going to explore one of the most popular object caching systems: Memcached.
What Is Memcached?
Memcached (pronounced variously mem-cash-dee or mem-cashed) an open-source distributed memory caching system. It is often used to speed up dynamic database-driven websites by caching data and objects in RAM to reduce the number of times an external data source (such as a database or API) must be read.
Memcached & Object caching in simple words
Object caching is devoted to your database. Every time users (or crawlers) make a request on your website, they generate database queries. If your site experiences a large number of requests to the database, queries can quickly pile up, overwhelming your server and slowing down your website.
The aim of object caching is to cache query results from your database and to save it in your server’s memory and serve it there on repetitive request instead of your database reducing the load on your server.
Integrate Memcached on your WordPress Site
There have been few plugins in the WordPress Repository that used to provide Memcached integration with WordPress sites. But now most of them have been either abandoned and not updated for over a year now. Before WordPress 5.4 many users were using Memcached Redux. but since 5.4 this plugin is now completely incompatible as discussed here.
While searching for alternatives, we came across plugins like SG Optimizer OR W3 Total Cache, while SG Optimizer only works on Siteground Server, you can consider W3 Total Cache, but W3 Total Cache is an all-in-one solution plugin it not only provides object cache Integration but Page Cache, etc Integrating W3 Total Cache would mean that you would have to remove your existing page cache plugin and sometimes many users wouldn’t want that because they might have a paid plugin like WP-Rocket or Nitropack and they are just simply looking to integrate object Caching with their existing page cache plugin.
So what are the alternatives?
While doing our search we found a relatively new object cache plugin named Use Memcached so we decided to test it out.
If you are using a Memcached service on your server with default values i.e. host 127.0.0.1 (localhost) and port 11211 then you don’t need to configure anything. Host like Cloudways already have Memcached installed on your server with default values so you just need to install the plugin on your site
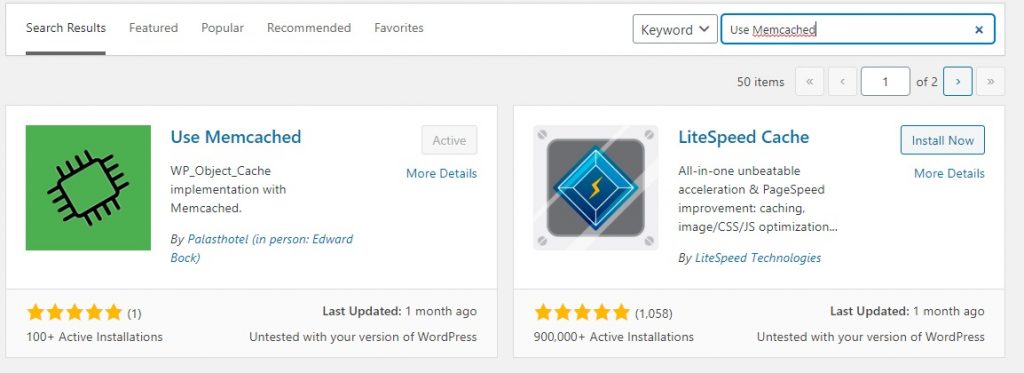
Step 1: Install Use Memcached Plugin
Simply go to your WordPress dashboard, then from the left-hand sidebar go to Plugins> Add New and search for Use Memcached plugin. Now click on Install followed by Activate and Use Memcached will be installed on your website.
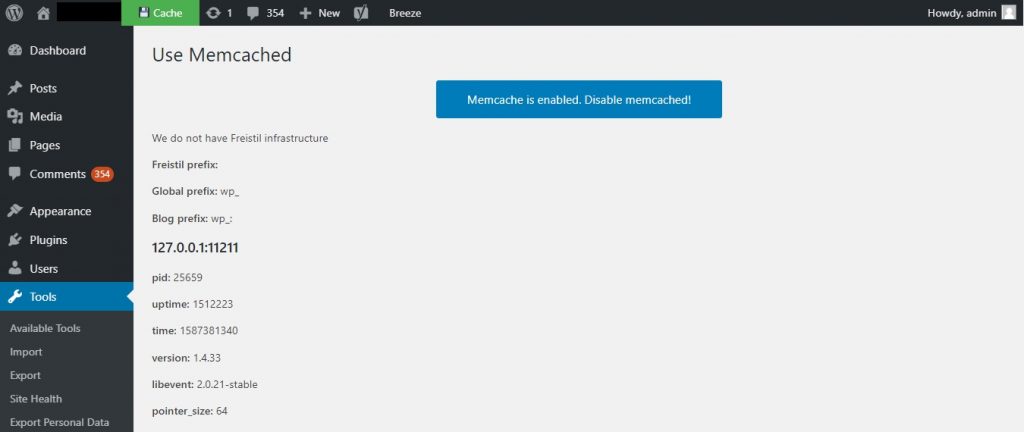
Step 2: Enable Memcached
Once the plugin is installed go to Tools > Use Memcached you should see an option to enable Memcached Integration

Once you click on Enable Memcached, the Object Cache should be enabled on your site.
Step 3: Define WP_CACHE_KEY_SALT to avoid cache conflicts
If you are going to integrate Memcached on multiple sites hosted on the same server, then make sure you define WP_CACHE_KEY_SALT in your wp-config.php this step is very crucial to avoid cache conflicts among multiple sites on same server, simply copy-paste the below code in your wp-config.php
define ('WP_CACHE_KEY_SALT', 'yourdomain.com');Remember to replace yourdomain.com with your own site URL. once the code is added make sure to clear the cache on your site to make sure everything is fine.
WP-CLI Integration
One of the best things about this plugin is that it integrates with WP-CLI, we can handle the plugin using wp memcache <command>.
SUBCOMMANDS
wp memcache flush -> Flush memcache
wp memcache stats -> Memcache stats
So in this tutorial, you have successfully learned how to integrate use Memcached as an object cache for your WordPress Site, let us know in the comment section if this guide was useful for you or not.


Like!! Thank you for publishing this awesome article.
So 2 questions, i have installed everything as said,
1)i dont actually see any improved performance
2) the backend of wordpress is very slow after activating use memcached
Also how can i be sure that the instalation to the server had the following settings so i know i dont need to change anything on the wordpress plugin: 127.0.0.1:11211
regards